Introduction: Why the Painting Pouring Technique Is Taking the Art World by Storm
Imagine;
- Rivers of color swirling into galaxies
- Emotions turned into movement
- Unpredictability turned into beauty.
That is the allure of the painting pouring technique.
- An expressive form of fluid art.
- This method captivates artists and hobbyists alike for its:
- Accessibility
- Spontaneity
- Sensory joy
- If you’ve ever wanted to play with paint in a way that feels both:
- Meditative
- Magical
This is your sign to dive in.
What is the Painting Pouring Technique?
- The painting pouring technique, also known as acrylic pouring:
- It is a form of abstract art where’
- Acrylic paint is thinned with a pouring medium, and
- Then poured onto a canvas.
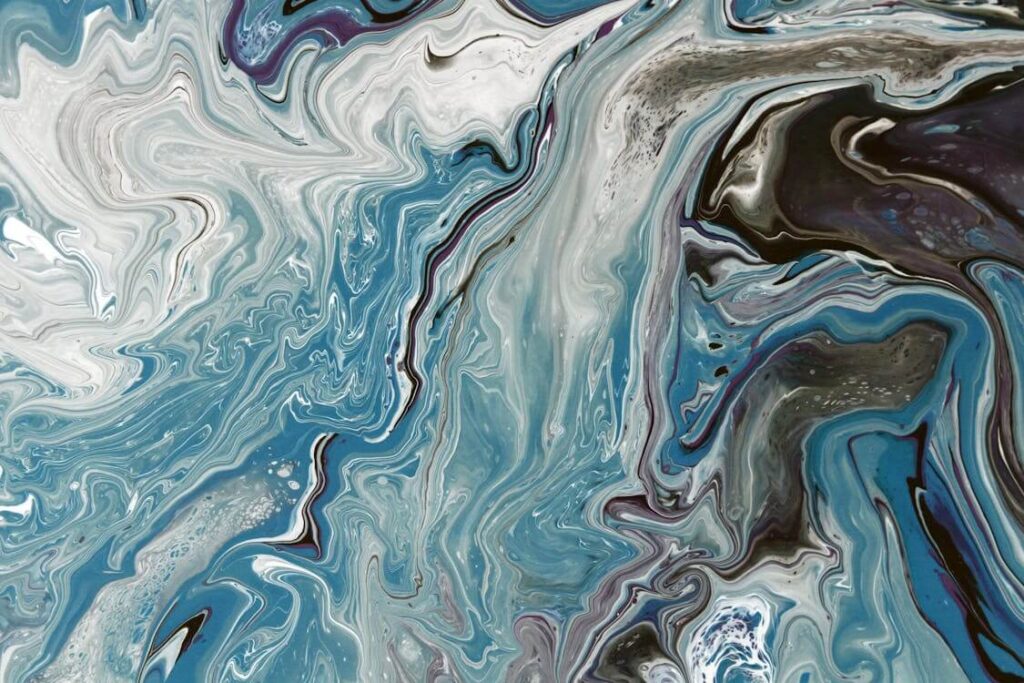
- The result?
Colorful marbled effects that resemble natural patterns like:
- Ocean waves
- Stormy skies
- Cosmic clouds
- It’s not just a technique; it’s a dance between:
- Gravity
- Fluid dynamics
- Artistic intuition
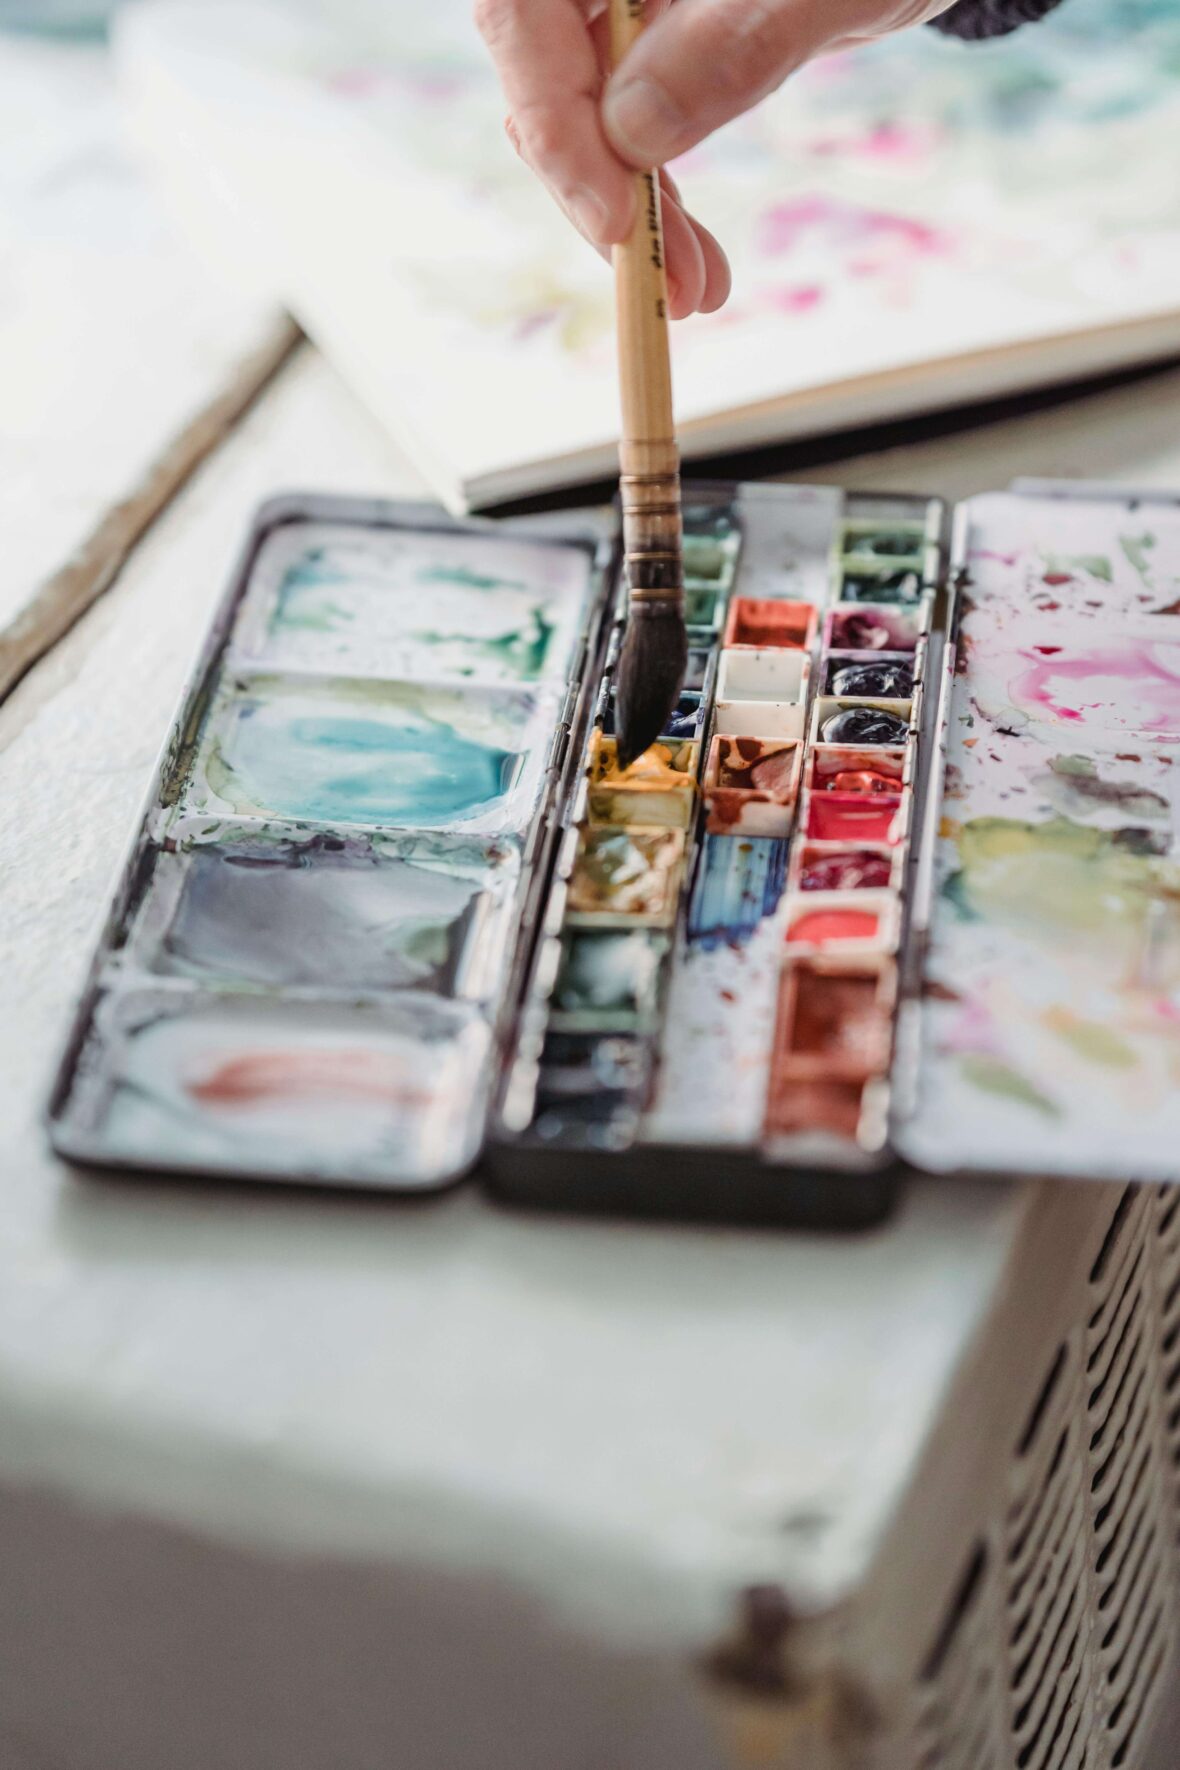
Materials You Need for Pouring Paint

- Acrylic paints (choose high-flow or student-grade for affordability)
- Pouring medium (e.g., Floetrol, Liquitex)
- Canvas or wood panel
- Plastic cups and stir sticks
- Gloves and protective gear
- Torch or heat gun (to pop air bubbles)
- Silicone oil (optional for creating cells)
- Drop cloth or plastic to protect surfaces
Step-by-Step Painting Pouring Technique at Home
Step 1: Prepare Your Workspace
- Cover your area with plastic or a drop cloth.
- Set up cups, paints, canvas, and gloves.
Step 2: Mix Your Paint
- In each cup, mix one part acrylic paint with two parts pouring medium.
- Stir thoroughly until smooth.
Step 3: Add Silicone (Optional)
- For those stunning cell effects, add a drop or two of silicone oil into the paint cups and stir gently.
Step 4: Layer Your Paints
- In a clean cup, layer your different colored paints one by one.
- This is your “dirty pour” cup.
Step 5: Pour and Tilt
- Pour the cup over the canvas and tilt it gently to spread the paint across the surface.
- Watch as the colors dance and flow.
Step 6: Pop the Bubbles
- Use a torch or heat gun to pop any air bubbles and bring out the cells.
Step 7: Let It Dry
- Place your artwork in a dust-free area and let it dry for 24-48 hours.
Sensory Connection and Storytelling
- As your hands glide over the cups and your eyes follow the flowing colors,
It is not just art, it’s therapy.
One artist said,
“It felt like letting go of control and finding beauty in the chaos.”
Like watercolors and winds, it’s unpredictable and that’s what makes it divine.”
Pro Tips for Paint Pouring for Beginners
- Use pre-mixed pouring paints for less mess.
- Always elevate your canvas using cups to avoid sticking.
- Try the flip-cup, puddle pour, or tree ring techniques to explore variations.
- Record your process. It’s as mesmerizing to watch as it is to create.
Conclusion: The Beauty of Letting Go
- The painting pouring technique isn’t just about the final piece; it is about the journey of:
- Color
- Flow
- Expression
- Fluid art offers an ever-evolving playground for creativity;
- Whether you’re a curious beginner
- Or a seasoned artist
Call-to-Action (CTA)
Ready to pour your heart out onto a canvas? Try the painting pouring technique today and share your masterpiece with us using #RaiseYourDimensions. We’d love to see your colors flow!
FAQ: Painting Pouring Technique
Q1: Can I use water instead of pouring medium?
You can, but it may compromise the paint’s vibrancy and integrity. A pouring medium ensures smoother flow and better results.
Q2: What’s the best surface for pouring?
Canvas, wooden panels, and ceramic tiles are popular choices. Make sure they are clean and primed.
Q3: Does it require sealing the painting?
Yes.
Sealing your artwork with varnish enhances.
Color and protect it from dust and damage.
Q4: Why is my paint cracking?
Overuse of water, lack of proper medium, or fast drying may cause cracks. Stick to recommended ratios.
Click Here to read more about Fine Arts at RYD
https://www.instagram.com/laiba_2609