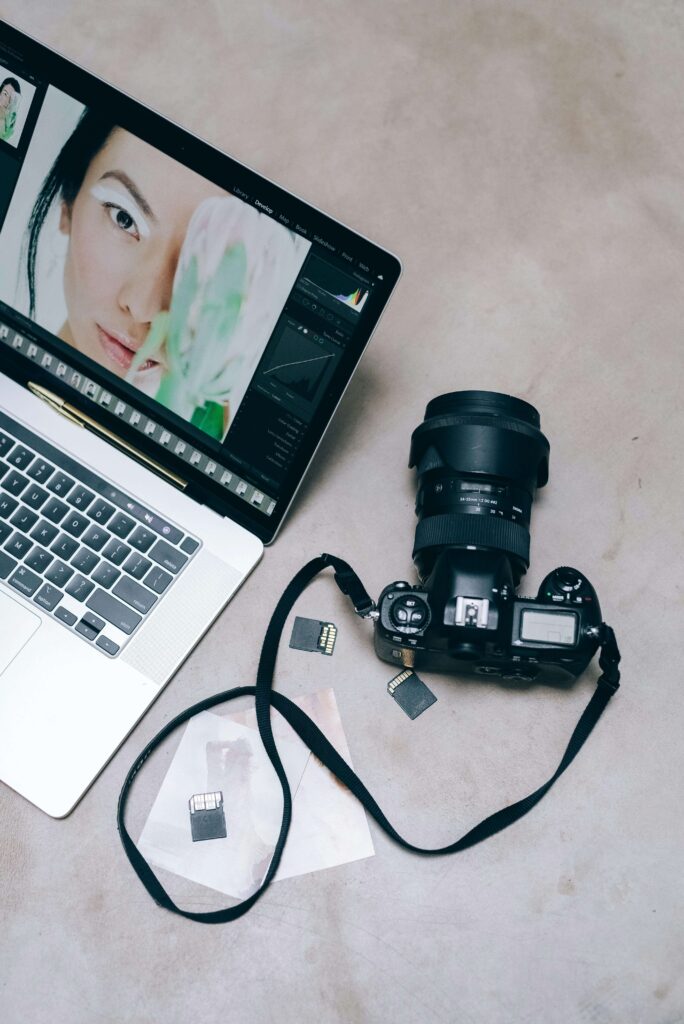
Increase Photo Dimensions: Have you ever needed to enlarge a photo only to end up with a blurry mess?
Increasing photo dimensions without sacrificing quality is a common challenge. You can upscale like a pro. In this blog, we will explore:
- How to increase photo dimensions?
- What tools do professionals use?
- Practical implementation tips.
Why Does Photo Enlargement Matter?

Photos taken from phones or downloaded from the web often come in lower resolutions. But when it comes time to use them in print, websites, or presentations, you’ll need higher dimensions.
That means resizing without making your image pixelated or distorted.
Use cases:
- Preparing images for large-format printing
- Making graphics web-ready at responsive sizes
- Upscaling AI-generated or vintage images
- Improving Zoom quality for presentations or video thumbnails
Best Tools to Increase Photo Dimensions (Without Losing Quality)
Here are the top tools that blend AI + upscaling algorithms:
- Adobe Photoshop – Preserve Details 2.0
- Best for:
Professionals need granular control.
- How it works:
- Use Image > Image Size → Set new dimensions → Enable Preserve Details 2.0.
- Pro Tip:
- Apply Smart Sharpen after resizing.
- Upscale. Media (AI-Based)
- Best for: Beginners or fast upscaling.
- Features: 2x–4x enlargement with noise reduction.
- Free + Paid versions available.
- Let’s Enhance
- AI-powered platform with settings for print, art, or web.
- Maintains detail and color fidelity.
- Great for photographers and e-commerce users.
- Waifu2x
- Originally for anime art.
- Now used for clean vector images and digital illustrations.
- Gigapixel AI by Topaz Labs
- High-end paid solution
- Best-in-class detail retention and face enhancement
- Ideal for commercial use or restoration work
Real-Life Use Case: Designer’s Dilemma
A freelance designer received a logo file from a client in 500×500 pixels. They needed it for a billboard.
Using Photoshop + Gigapixel AI, they were able to scale it to 4000x4000px:
- Maintaining sharp lines and color integrity
- Impressing the client
- Winning a long-term contract
Implementation Tips

- Upscale in increments (avoid jumping from 500px to 5000px in one go)
- Always use lossless formats (PNG, TIFF) for editing
- Sharpen selectively after resizing—don’t overdo it
- Use AI tools for textures and details (especially faces and skin)
- Test print before sending final files to print shops
FAQs About Increasing Photo Dimensions
Q1: Can I increase dimensions in MS Paint?
You can, but it uses basic interpolation and results in a loss of quality.
Use advanced tools for better output.
Q2: Is it free to increase photo dimensions online?
Yes, tools like Upscale. Media and Waifu2x offer free versions with decent quality.
Q3: How to check if the image has lost quality?
Zoom in to 100%, if you see jagged edges or blurs, the quality has degraded.
Q4: Does upscaling work for printed photos?
Yes, if the DPI is adjusted properly (minimum 300 DPI for print).
Q5: What’s the difference between resizing and resampling?
Resizing changes the image size.
Resampling changes pixel count (adds or removes data), used in enlargement.
Conclusion and CTA: Increase photo dimensions, Don’t Let Pixels Limit Your Vision
In an era where visuals matter more than ever, knowing how to increase photo dimensions smartly gives you a competitive edge:
- Whether you are designing
- Or, printing
- Or posting online
With the right tools and techniques, you can:
- Preserve quality
- Make your images work harder
Try upscaling your favorite photo using one of the AI tools mentioned above.
Let us know in the comments what worked best for you, or if you discovered a better tool we should add!
Methodology Note: This blog follows a structured methodology for content quality, SEO, and originality. It is written while using real-time research, gap analysis, unique insights, and practical value. Ensuring high relevance for both readers and advanced search engines, including AI-based platforms.
Read Also Elevating Jewelry Retouching with Advanced Outsourced Photo Editing Techniques


